
How to apply UV gel?
Amber D'Halluin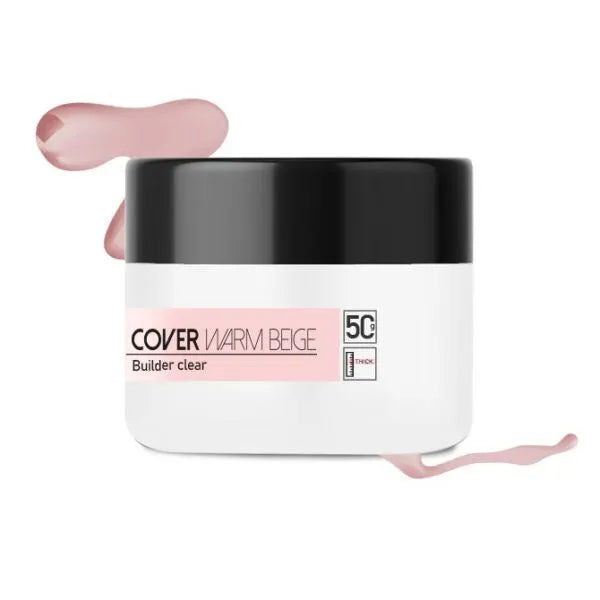
1. How to keep your gel nails looking beautiful for a long time?
To get a durable gel manicure it is important to choose a good base coat, gel and top coat. This will prevent lifting or loosening of your artificial nails.
A base coat is the first layer you apply to the nail plate. It ensures that the nail products adhere better to the nail plate. Base coat is available in transparent or colored versions.
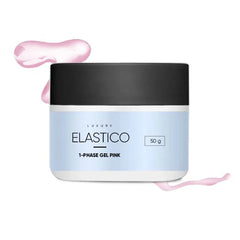
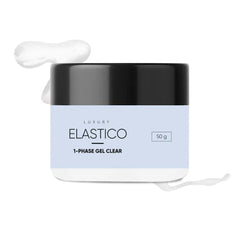
Gel provides a reinforcement of the natural nails. You can also make beautiful long nails with it using templates. Gel is available both transparent and with a color.
Not sure which gel to choose? Read our blog about UV gel .
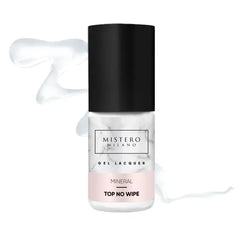
A top coat is the last layer you apply to your nails. It is important to seal the top of your nail with top coat to prevent premature detachment. You can choose between different finishes such as glossy, matte or glitter.
2. What do you need to apply gel?
To perform a UV gel manicure you need quite a few supplies. You need materials to prepare your natural nail plate and of course the nail products. See below the products you need:
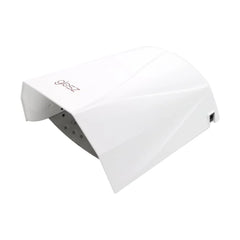
UV/LED nail lamp
Nail prep
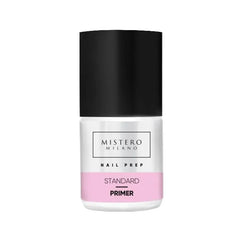
Primer
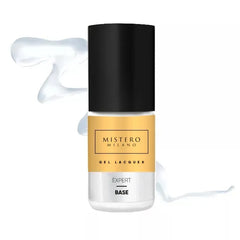
Base coat
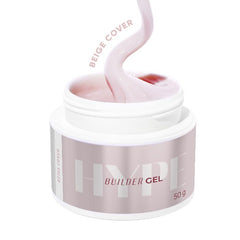
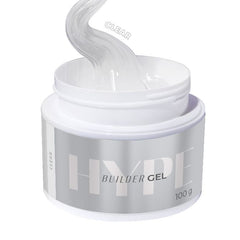
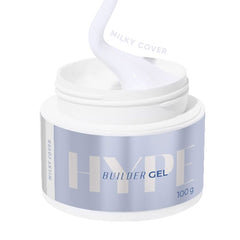
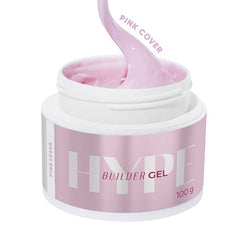
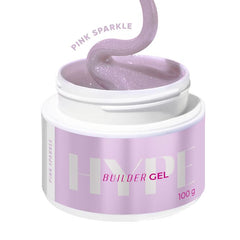
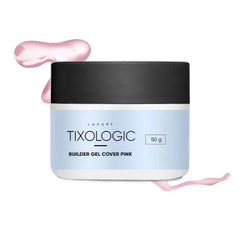
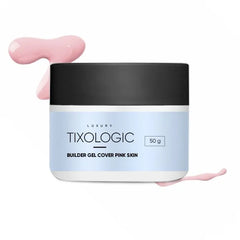
Builder gel
Gel polish color
Top coat
Templates
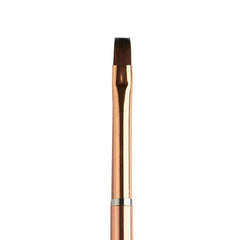
Gel brush
File 100/180
Buffer file 240/240
Cuticle pusher
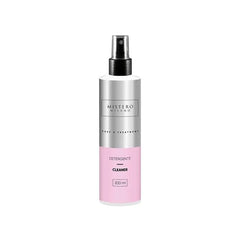
Cleaner
Cellulose swabs
Cuticle oil
Hand cream
3. Step by step application of UV gel
To apply gel, it is important that you have the skills. Applying UV gel seems easy, but it must be done correctly so that your artificial nails do not come loose. To do this, you must prepare the natural nail plate correctly. In this step-by-step plan, we will explain to you how to prepare the natural nail plate step by step and how to apply gel correctly.
3.1 Preparing the manicure
Remove cuticles
Prepare your nails for a manicure. Push back your cuticles with a cuticle pusher and remove the excess skin with cuticle scissors or pliers. This is an important step, removing your cuticles ensures that you can apply your nail product as far as possible and your regrowth will not be visible as quickly.
File and matt nails into shape
File the nails into the desired shape with a 100/180 file and mat the natural nail plate with a buffer file 240/240. By matting your nail, nail products adhere better to the natural nail. You make small scratches in your nails, which increases the surface area of the nail. We recommend that you file your nail horizontally. Be careful not to press too hard on your nail file. Excessive filing damages the nail plate and can cause burns.
3.2 Applying the nail products
Apply nail prep
Before applying nail prep it is important to degrease your nails with cleaner, otherwise your nail prep will get contaminated with oils. After degreasing your natural nails apply a layer of nail prep and let it dry for about 1 minute. Nail prep evaporates the moisture from the top layer of your nails and temporarily dries out the nails.
Apply primer
After applying the nail prep it is important to also apply a primer. Primer should be allowed to air dry just like nail prep. Primer has the same effect as double-sided tape, it ensures better adhesion between the natural nail plate and the artificial nails.

Apply base coat
Once the primer has dried completely, apply a smooth layer of base coat. Make sure to stay 1mm away from the cuticles and to seal the tips of the nails well, you do this by applying your base coat horizontally over the tips of the nails. Let your nails cure under a nail lamp. It is important that you follow the correct curing times which are stated on both the product page and the label of the nail product.

Apply template
Apply a template, make sure the template fits well under the nail, there are cutting lines for that. In this way you can make the template fit the nail. After you have cut the template, bend the template and stick it under the nail and attach it to the sides of the fingers.
Apply gel
Take a ball of builder gel with your brush and place it in the middle of the nail. Spread the gel over the entire nail to build them up. Make sure you have a nice curve. Then cure the nails under a UV/LED lamp. Remove the sticky layer with a cellulose swab and cleaner. After removing the sticky layer, file the gel nails into shape with a 100/180 file. After filing, remove the dust and degrease your nails again.

Applying gel polish color
Choose a nice gel polish color and apply it to your nails. Let your nails harden under a nail lamp. Repeat this step a second time.

Apply top coat
We have come to the last step of the manicure. Apply a layer of top coat and make sure your nail tips are well sealed, you do this by applying your top coat horizontally on your nail tips. Let your nails harden under a UV/LED lamp.

3.3 Finishing the manicure
Remove the adhesive layer
If you have used a top coat with a sticky layer, you can easily remove the sticky layer with a cellulose swab and a cleaner. A no wipe top coat has no sticky layer, but you can polish it.
Apply hand cream
After you have done a manicure it is always better to apply a hand cream and massage your hands. This will ensure that you hydrate your hands again and that the blood circulation in your hands improves. By applying pressure, the blood that circulates poorly in overloaded areas will start moving again.

Apply cuticle oil
However, after applying hand cream, it is equally important to apply cuticle oil, especially after your cuticles have been removed. This will hydrate and soften your cuticles. This way, your cuticles will always remain in good condition.

4. How to update gel?
Gel shows a regrowth after a few weeks. If you do not want to replace your manicure yet, you can have your regrowth touched up. Below is a step-by-step plan to touch up a gel manicure.
4.1 Side effects of a UV gel manicure
Make the exposed edge matt
Remove only the top coat with a file. Matt the natural nail and the old gel. For better adhesion, we recommend filing horizontally. Degrease the nail with a cleaner.
Apply nail prep and primer
Apply nail prep to the area where the natural nail is visible. Let the nail prep dry before applying other nail products. After the nail prep has dried, apply a layer of primer just like the nail prep. Let the primer dry. You may not apply primer or nail prep to the existing gel polish.
Apply base coat
After the primer has dried completely, apply a layer of base coat on the part where the natural nail is visible and cure it under the lamp. Make sure that the regrowth blends well with the remaining gel polish from the previous manicure.
Apply gel
After applying your base coat, take a very small ball of gel and place it on the exposed edge. Make a good round shape again and apply a thin layer of gel to the rest of the nail. Remove the sticky layer with a cellulose swab and cleaner. File your gel nails into shape with a 100/180 file. After filing, remove the dust and degrease your nails again.
Applying gel polish color
Apply the desired color. Then cure your nails under a UV/LED lamp. Perform this step twice.
Apply top coat
As a final step, apply a layer of top coat over the entire nail. Then cure your nails under a nail lamp.
5. How should you seal your nails?
To prevent your artificial nails from coming loose, it is important to seal them properly. To seal your artificial nails properly, hold your brush at a 90° angle to your nail plate (horizontally) and use the side of your brush. Make sure there is not too much top coat on your brush. Then rub slowly back and forth (from left to right) to cover the tip of your nail.


1 comment
Ik ben helemaal fan van alle producten van mistero Milano. Zoals alles staat omschreven zo werkt ieder product ook. Is het nu acryl, gel of gellak, ieder product werkt fijn en ook mijn klanten zijn enorm tevreden over dit product