Applying gel polish
Amber D'Halluin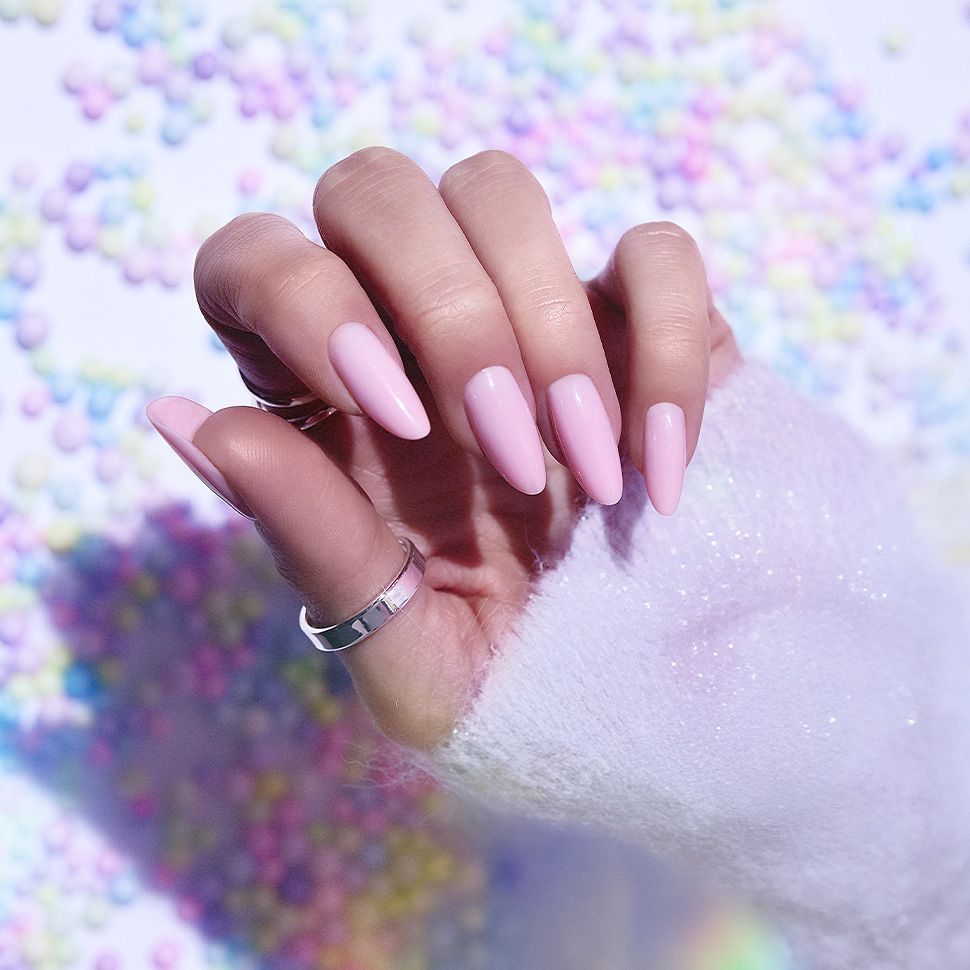
1. What is a gel polish manicure?
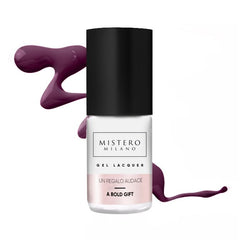
A gel polish manicure is a treatment that uses a soft gel that resembles nail polish. The result of gel polish is a high-gloss manicure that lasts up to four weeks without chipping, flaking or cracking.A gel polish manicure differs from a regular nail polish treatment because gel polish must be cured under a UV / LED lamp. Gel polish consists of short chains of molecules that connect to long chains during the curing process in the lamp. We call this chemical process the curing process. This makes gel polish much harder and lasts much longer than regular nail polish.
Another great advantage of a gel polish manicure is that it is hard as soon as you remove your nails from the lamp. This means you do not have to deal with long drying times, as with regular nail polish. The result is a perfect, shiny and durable manicure.
2. Can you apply gel polish yourself at home?
Gel polish is a very popular nail technique, both at home and in nail salons. This popularity is due to the fact that gel polish is easy to apply and lasts longer than traditional nail polish.
Applying gel polish correctly is very important, especially when you apply it at home. Unfortunately, mistakes are often made when applying gel polish, which causes the manicure to come off after just two days. In addition, incorrect application of gel polish can sometimes lead to contact allergies.
To enjoy a long-lasting and beautiful manicure, it is important to follow the right steps when applying gel polish. We will go into this in more detail in the following chapters.
3. How long does gel polish last?
The durability of your gel polish manicure depends on several factors, such as the growth of your natural nail, the preparation of your nail plate, the quality of your gel polish and the application technique you use. In general, a gel polish manicure will last for two to four weeks.
4. What do you need to apply gel polish?
When you want to perform a gel polish manicure, you will need several supplies. First of all, you will need materials to prepare your natural nail plate, but also the necessary nail products to perform the gel polish manicure. Below you will find an overview of the materials you will need:
5. Apply gel polish step by step
A beautiful and long-lasting gel polish manicure is a great addition to your everyday look, but doing it right can be a challenge. To ensure your gel polish manicure lasts and doesn’t chip, it’s essential to properly prepare your natural nail plate before applying gel polish.
Luckily, we’ve put together a step-by-step guide to help you prepare your nail plate and apply gel polish correctly. With this guide, you can get started at home and create a beautiful and long-lasting gel polish manicure.
5.1 Preparation of the natural nail plate
STEP 1: Loosen cuticles
The first step is to loosen the cuticles using a cuticle pusher or hoof stick. After that, you can choose to continue the manicure manually or continue with a milling machine. If you choose to continue with a milling machine, you can use diamond bits to remove the dead skin on the nail plate. If you choose to continue manually, you can do this by scraping the nail plate with the back of a cuticle pusher.
STEP 2: File nails into shape & mattify
Then file the nails into the desired shape using a 100/180 file. Then matt the natural nail plate using a 100/100 buffer file. By matting your nail plate, the nail products will adhere better to the natural nail. You make small scratches in your nails, which increases the surface area of the nail. We recommend that you file your nail in one direction and horizontally. Make sure that you do not press too hard on your nail file. Excessive filing damages the nail plate and can cause burns.
STEP 3: Remove cuticles
Next, you cut away the dead skin using a cuticle nipper or cuticle scissors. This is an important step, removing the cuticles ensures that you can apply your nail product as far as possible. This way, your regrowth will not be visible as quickly.
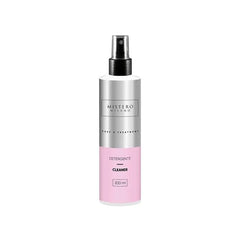
STEP 4: Degrease the nail plate
Before you start applying nail products, it is important to degrease your nail plate properly. You do this with the help of a cellulose swab and a cleaner.
5.2 Applying the nail products
STEP 5: Apply nail prep
After degreasing your natural nails, apply a layer of nail prep and let it air dry for about 30 seconds.
Nail prep evaporates the moisture from the top layer of your nail plate. This causes the natural nail plate to dry out temporarily and locally.
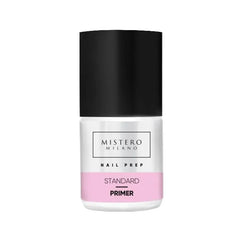
STEP 6: Apply primer
After applying the nail prep it is important to apply a primer. Primer should be applied just like nail prep and let it air dry for about 60 seconds.
Primer has the same effect as double-sided tape, it ensures better adhesion between the natural nail plate and the artificial nails.

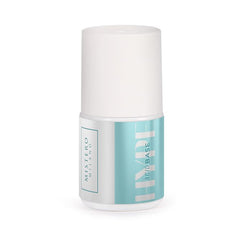
STEP 7: Apply base coat
When the primer has completely dried, apply a layer of base coat of your choice. This forms the base layer of the gel polish products. Let the base coat cure for 60 seconds under a nail lamp. It is important that you follow the correct curing times that are stated on both the product page and the label of the nail product.

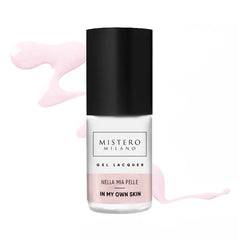
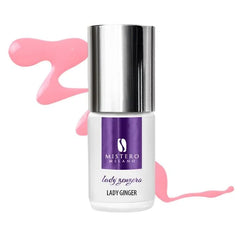
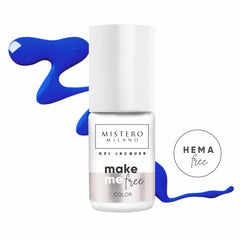
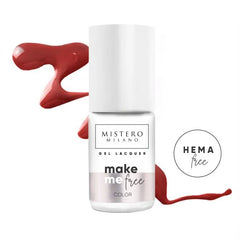
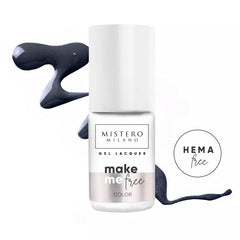
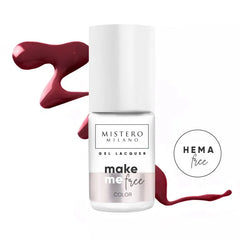
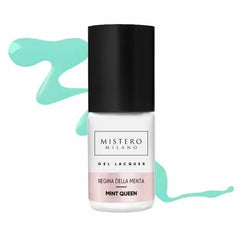
STEP 8: Apply gel polish color
Choose a nice gel polish color and apply it to your nails. Let your nails harden for 60 seconds under a nail lamp. You can choose to use a fineliner to paint a little closer and tighter along the cuticles. To optimize the coverage of the gel polish color, repeat this step a second time.

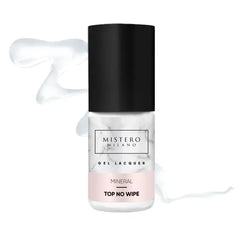
STEP 9: Apply top coat
We have come to the last step of the manicure. Apply a layer of top coat and make sure your nail tips are well sealed, you do this by applying your top coat horizontally on your nail tips. Let your nails cure for 60-90 seconds under a UV/LED lamp.

5.3 Finishing the manicure
STEP 10: Remove adhesive layer
If you use a top coat with sticky layer, you can easily remove the sticky layer by using a cellulose swab and cleaner. A no wipe top coat on the other hand has no sticky layer, but you can polish it.
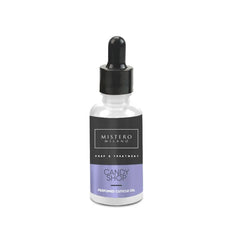
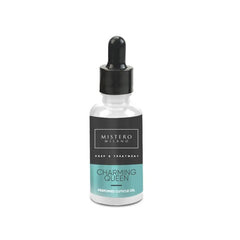
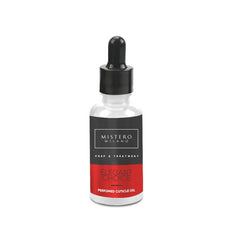
STEP 11: Apply cuticle oil
After performing a manicure, it is recommended to apply cuticle oil, especially after the cuticles have been removed. This will help moisturize and make your cuticles supple, keeping them in good condition.

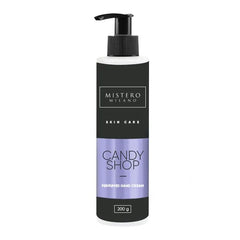
STEP 12: Apply hand cream
In addition to applying cuticle oil, it is equally important to apply hand cream and massage your hands. This helps to rehydrate the hands and improve blood circulation. By applying pressure to the hands, the circulation of the blood that is in overworked areas can start moving again.

6. How do you ensure that gel polish nails stay beautiful for a long time?
Do you want to enjoy your gel polish manicure longer? Then it is important to take into account various factors that influence the durability of your gel polish manicure. In the points below we discuss these factors, so that you can keep your manicure beautiful for as long as possible.
- The condition of the nail plate: the health of your nails is of great importance for the durability of your gel polish manicure. Therefore, make sure that your nail plate is healthy and strong enough. You can do this by regularly caring for your nails with cuticle oil and by maintaining a healthy lifestyle.
- The quality of your gel polish: the quality of the gel polish you use also has an effect on the durability of your manicure. Therefore, choose professional gel polish that guarantees good adhesion and stays beautiful on your nails for a long time.
- Proper preparation of your nail plate: Proper preparation of your nail plate is essential for a long lasting gel polish manicure. Make sure your nails are prepared in a proper way.
- Using the correct curing times: It is important to cure gel polish properly. Therefore, always use the correct curing times as indicated on the gel polish packaging or on the manufacturer's webshop.
- Applying gel polish correctly: Applying gel polish correctly is an art in itself. Make sure to apply the gel polish in thin layers and to seal the edges of your nails well. This prevents air from getting under your artificial nails and the manicure from coming off.
- External influences, such as working with chemicals: External influences can also affect your gel polish manicure. For example, working with chemicals can cause your gel polish nails to be damaged more quickly. Therefore, always wear gloves when working with chemicals.
7. How long should gel polish be left under the lamp?
Gel polish does not dry without a nail lamp. The product needs a UV source to harden. The hardening of gel polish is done by molecules that connect to each other to form long chains. As the hardening progresses, these chains become longer and the gel polish mass harder.
The curing time of gel polish depends on several factors. In the following paragraphs we will discuss the most important factors that influence the curing of gel polish.
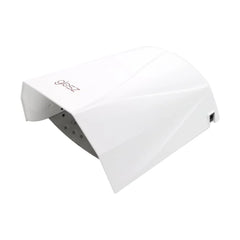
- Nail lamp: it is no secret that a nail lamp is necessary to properly cure gel polish. But did you know that the choice of nail lamp can also affect the curing time? For example, there are nail lamps with different strengths, which can lead to different curing times. A lamp with a higher wattage will cure the gel polish faster than a lamp with a lower wattage. Therefore, make sure you use the right lamp for the gel polish you want to apply.
- Indicated curing times: each gel polish has an indicated curing time. This time indicates how long it takes for the gel polish to fully harden. It is important to follow this time carefully. This can differ per gel polish product or brand.
- Gel polish pigmentation: The pigmentation of the gel polish can also affect the curing time. In general, darker colours take longer to cure than lighter colours. So take the indicated curing times into account.
8. Can gel polish be cured too little or for too long?
It is important to know how to cure gel polish properly, otherwise it can lead to over-curing or under-curing.
Firstly, it is important to follow the correct curing times recommended by the manufacturer. If the gel polish is cured too little or too long, it can lead to problems such as skin sensitivity, air bubbles and dull spots on the nails.
Over-curing can be caused by unwanted UV exposure. This can occur when artificial nails are exposed to natural sunlight or tanning beds for a long time. This causes the nails to become brittle and lose their flexibility, which is detrimental to the durability of your manicure. In addition, a UV or LED lamp can also cause over-curing. UV energy is based on different wavelengths, so it is important to use the lamp recommended by the manufacturer. The correct curing times can be found on the label of the product or on the website of the manufacturer.
In addition to over-curing, under-curing can lead to skin sensitivity, with symptoms such as: redness, itching and water blisters. Other signs of under-curing are air bubbles under the artificial nails and dull, soft spots on the nails where the coating can be filed away too easily.
9. Can I extend my nails with gel polish?
If you want to extend your nails with gel polish, it is important to know that you need forms for this. Gel polish is not strong enough to extend with tips. If you want to work with tips, gel, acrylic or acrylic gel is a better option.
However, the extension with gel polish and forms is limited, you can not make very long nails like with gel , acrylic and acrylic gel . Some base coats do offer the possibility to extend your nails up to 5 mm, but that is still not as much as with other products.
In short, if you are looking for a way to extend your nails, there are several options to choose from. Gel polish with forms is one option, but it has its limitations. If you want long and strong nails, gel, acrylic or acrylic gel may be a better choice.
10. Can you combine different gel polish brands?
To ensure long-lasting adhesion of the gel polish manicure, it is not recommended to combine different brands.
In the nail world there are many different nail brands. It is therefore tempting to combine brands. Unfortunately, this can lead to a reduced adhesion of the gel polish. It can even lead to lifting, crumbling and colour fading. That is why we advise against combining different brands.
An important reason why combining brands is not recommended is because many professional brands test their nail products within the brand and not with other brands. This means that the manufacturer cannot guarantee that the adhesion will remain optimal if you combine brands. It is therefore better to choose one brand, to guarantee the best quality and durability.
11. Is it necessary to apply a top coat?
Applying a top coat is very important when applying artificial nails. A top coat will significantly extend the life of the manicure. It prevents the gel polish from chipping and it offers protection to the manicure. Sealing the nail tips with a top coat is very important to prevent chipping. In addition, a top coat offers protection to the gel polish against external damage such as bumps and scratches and protects it from discoloration.
12. How should you seal your nails?
Do you want to prevent your gel nails from coming off quickly? Then it is very important to seal your artificial nails well. But how do you do this exactly?
First, it is important to hold your brush at a 90° angle (horizontally) to the tip of your nail plate. Then use the side of your brush to apply the top coat. Make sure there is not too much top coat on your brush. Then slowly rub back and forth (left to right) to cover the tip of your nail.
13. Why does my gel polish remain sticky?
During the curing of gel polish, a sticky layer is formed. But what exactly is this sticky layer and why does it form?
A sticky layer is an uncured part of a UV curing product. The sticky layer is formed because the oxygen present in the air disrupts the curing process of the artificial nails. However, some UV curing products are designed to accelerate the curing process, so that the oxygen does not have a chance to disrupt the formation of molecular chains. In top coat products, we call these “no wipe” top coats. These top coats do not leave a sticky layer.
It is important to know that the sticky layer needs to be removed after the gel polish has hardened. This can easily be done with a cellulose swab and cleaner. Removing the sticky layer will reveal the glossy finish of the gel polish and give your nails the desired look.