Ombre nails
Amber D'Halluin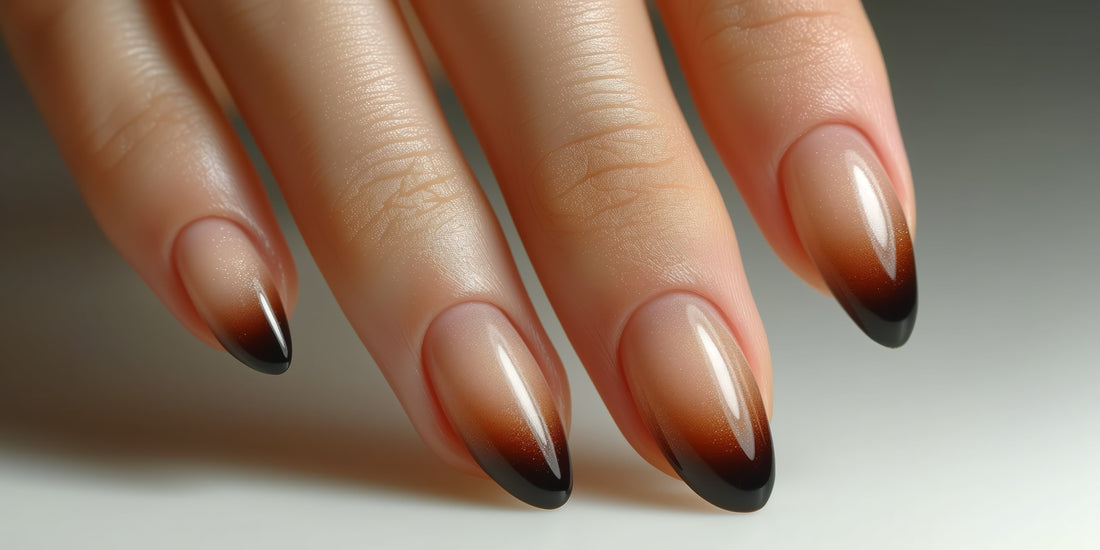
1. What are ombré nails?
Ombre nails are a subtle color mixture where two or more colors blend into each other. The result is a gradual transition between different colors. There are countless style variations to achieve with ombré nails, sometimes it is combined with glitter or other nail art . This technique can be performed using a makeup sponge or an ombre nail art brush.
2. What is the difference between ombre and baby boom?
The biggest difference between ombre and baby boomer nails is the color transition. Ombre nails have a gradual color transition where two or more shades blend into each other, while baby boomer nails have a specific transition from a light pink or nude shade to a white or milky white shade. Ombre nails use different bold colors, creating a bold and striking look. While baby boomer nails exude a natural and subtle look.
3. What do you need for ombré?
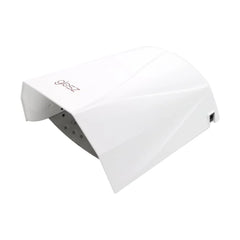
There are two different methods to create ombre nails. You can choose to use an ombre brush or a sponge. The easiest way to get an ombre effect is by using a sponge. In addition to the basic products, you will need a nail art brush, make-up sponge and nail lamp to perform ombre nails.
Supplies:
- Nail lamp
- Nail prep
- Primer
- Base coat
- Different gel polish colors
- Top coat
- Ombre brush
- Make-up sponge
4. How to do ombré nails with a sponge?
Below you will find a step-by-step plan for performing ombre nails using a sponge and 2 different gel polish colours. Of course, it is also possible to perform ombre nails with more than 2 colours.
- Prepare your nails for a manicure.
- Apply the nail prep and primer.
- Apply the correct base coat.
- Apply the desired color to the nails, starting with the lightest color.
Now we are ready to create ombré nails:
- Take a sponge and apply the 2 chosen colours. Start with the lightest colour on top and the darkest colour on the bottom.
- Gently dab the sponge on the nail to obtain a beautiful color transition.
- Then harden your nails under a nail lamp.
- Finish your nails with a top coat.
5. How to do ombré with a nail art brush?
Below you will find a step-by-step plan for performing ombre nails using an ombre brush and 2 gel polish colours. Of course, it is also possible to perform ombre nails with more than 2 colours.
- Prepare your nails for a manicure.
- Apply the nail prep and primer.
- Apply the correct base coat.
- Apply the desired color to the nails, starting with the lightest color.
Now we are ready to create ombré nails:
- Apply one of your desired gel polish colors on the top of your nail, reaching to the middle of the nail.
- Apply the other color to the rest of the nail.
- Gently blend the two colors with an ombré brush to create a beautiful faded effect.
- Then harden the nails under the lamp.
- Repeat these steps a second time.
- Finish your nails with a top coat.
6. Ombré nail art inspiration
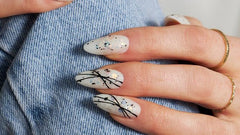
Ombré nails can be created in different styles with different colors. You can combine this manicure with different nail art techniques, such as stamping, nail stickers, transfer foil, spider gel and much more. Below you will find some inspiration photos of ombré nails.


